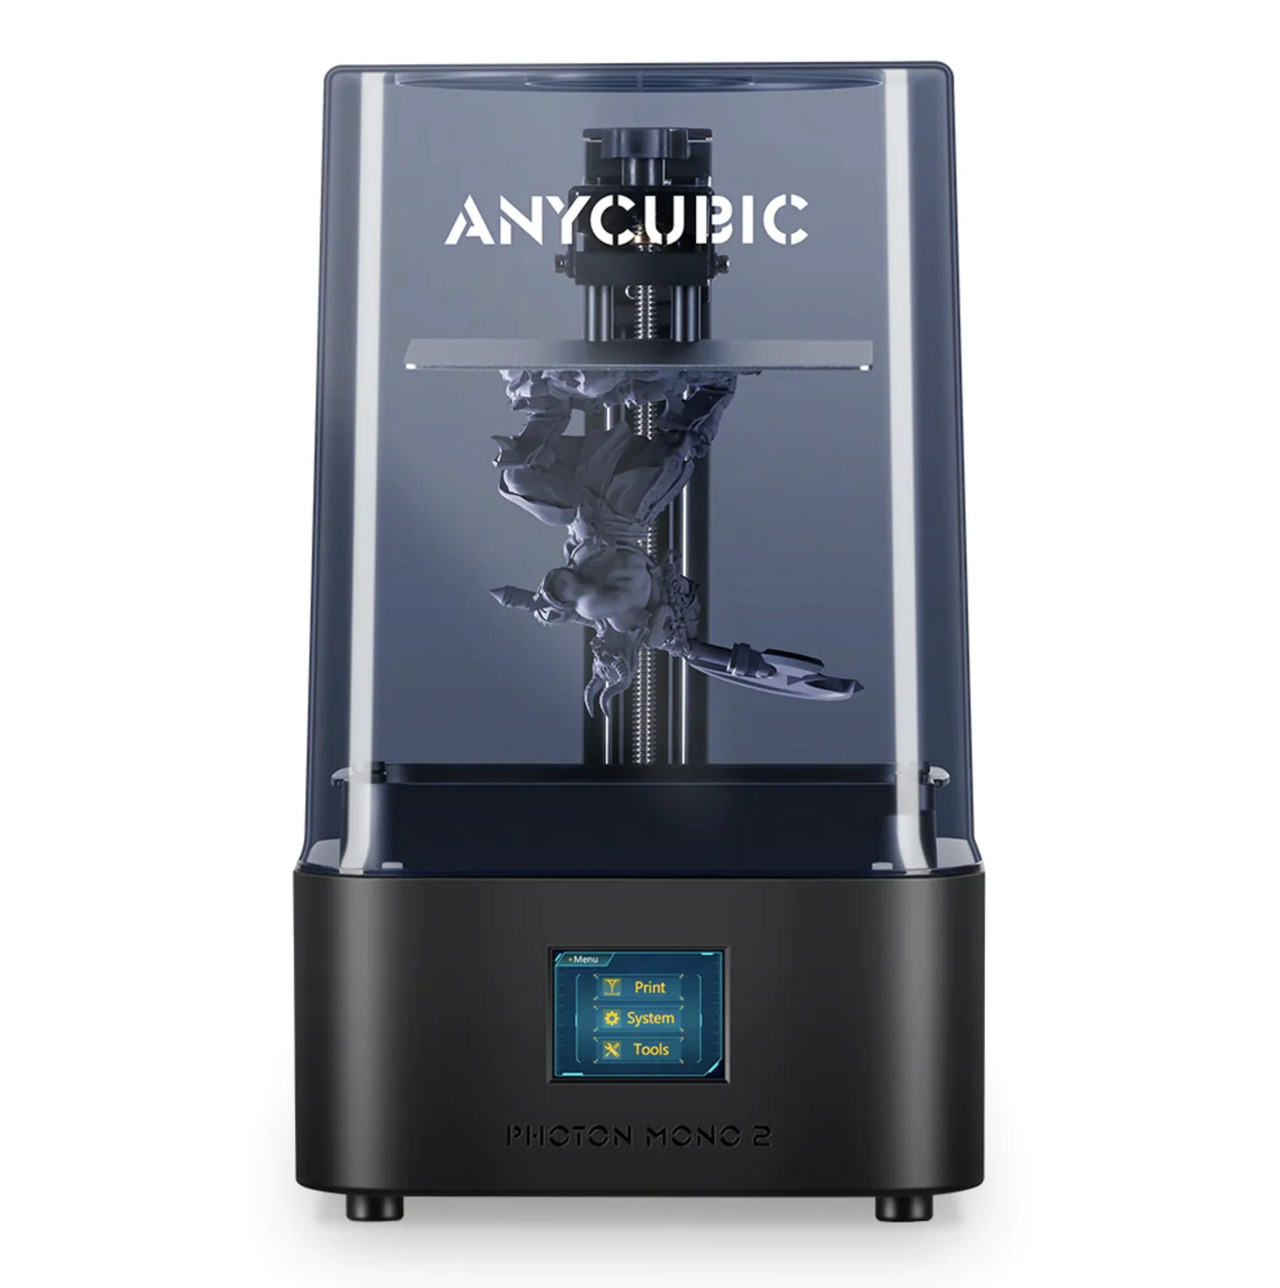
The project I will work on using OnShape is a omnidirectional gear that I plan to 3D print using my SLA printer. Below is a presentation of the workflow to use the Anycubic Photon Mono 2 SLA printer.
Setting up the printer
SLA printers require minimal setup, simply take it out of the box, place the screen protector on and install the build plate and resin bath. You can learn about the setup process by quickly scrolling through the User Manual below.
Once set up, I will walk through the zeroing and bed levelling technique in the workflow section below.
SLA 3D Printing Workflow for Anycubic Photon Mono 2
In this section I will cover the workflow for perfoming an SLA print from import of the part to the Photon Workshop software and slicing it, through to preparing the printer for a print, launching a print, post-print treatment and cleanup. This section will be broken into two parts:
(1) Slicing and creating the print file, and
(2) Performing the print and cleanup
Slicing a part for printing
The anycubic photon mono 2 uses the Anycubic Photon Workshop software as its slicer. It is a very intuitive and user friendly software. Furthermore, anycubic has a very friendly user manual and tutorial process when you first open the App. I will include their user manual here for reference and assitance. You can scroll through it below.
Next, I will walk through a very quick tutorial for how to use the software and slice a part for printing.
1. Download the Anycubic Photon Workshop Software
Download the latest version of the Anycubic Photon Workshop software by clicking on the link to their page. Download the version required for user Operating System.
2. Launch the App and Import your part
Once installed, the app will prompt you for which printer you are using. In our case we are using the Anycubic Photon Mono 2.

The app has a very friendly tutorial and introduction. It is recommendd that you go through it. It is about 1 minute and gives an excellent tour of the software and its main toolbenches and capabilities.
After you have run through the tutorial feel free to import your part into the slicer. It is possible to import .STEP, .OBJ, and .STL files.
Once imported, you should see the part on the build plate. If it does not appear, there is an error, try exporting your part as a different file format or fixing any CAD errors.

the next step involves generating supports.
3. Generate supports
Next, you will want to generate supports. You can do this by clicking the “supports” button at the top. You can modify the settings to suit your print and then click on “generate supports” to initiate the support generation process.

After calculating the supports, you should see them rendered on the main build plate screen. If they are not there, either there was an error, or the part does not require supports. In most cases, it will generate a skirt regardless of whether supports are required or not.

The next step involves slicing and exporting the file.
4. Slice the part
Lastly, you will want to slice the part and export it. You can do this by clicking the slice button in the bottom right hand corner. The software will then generate the sliced part where you can use the scroll bar on the right to view each layer.

If you are happy with the slice, the final step is to click “Save Slice File” in the bottom right hand corner. You can then load this file onto a USB and stick the USB in the printer.
Next step we will turn over to the printer and walk through the process of levelling and zeroing the bed, loading the resin, and launching a print.
Printing your part
In this section, I will walk through the workflow for printing a part after you have generated the slice file. This includes levelling and zeroing the bed, which I recommend should be done any time the resin bath or build plate has been removed, which will likely be after every print. I recommend this to avoid having failed prints and wasted resin. The workflow is presented below.
VERY IMPORTANT: THE RESIN CURES DUE TO UV LIGHT. IF YOU PLAN TO REMOVE THE RESIN BATH, BE SURE TO COVER IT FROM SUNLIGHT SO THAT IT DOES NOT CURE AND YOU DO NOT WASTE RESIN.
1. Remove the resin bath and level the bed
It is good practice to perform the bed levelling step any time you remove the resin bath or the build plate.
To level the bed, first loosen the allen screws on the side of the build plate. Once loosened, in the printer settings go to “move” and click the “home” icon. Place the bed levelling paper on the screen to set the height. Next, tighten the allen screws to set the build plate orientation.
2. Raise the build plate and install the resin bath


